|
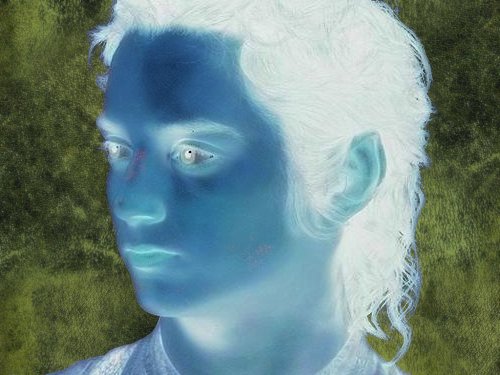
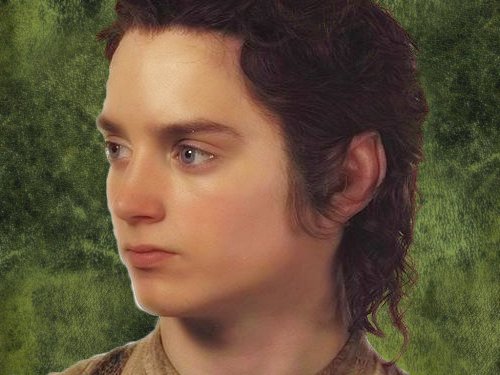
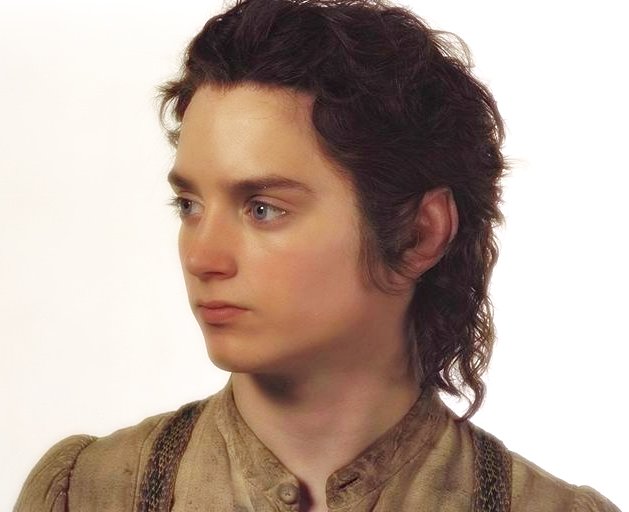
This graphics tutorial is for any program that allows users to set a blend mode for layers. The lighten/darken blend mode for layers can be a very useful, time-saving tool, but can also be a little confusing. The best way to define it is with an example. Take this texture, paste it into your image editing software, and resize it to about 500px wide. Take this image, paste it on top of the texture, promote it to a layer, and set the blend mode to darken. All the light-ish areas of the picture are wiped out. Now (just for an example) if you turn the Frodo picture into a negative and set the blend mode to lighten, all the dark areas will be wiped out. As you can see, this is a very useful tool if you have a lot of strands of hair or something similar that you don't want to spend a lot of time erasing. But it's also obvious that the tool's not perfect; areas that you don't want to disappear show some of the background texture. There's a relatively easy way to fix this! Start with the negative image. Sure, it looks weird, but it's simpler for the first try. Select the background (your texture) and click on your eraser tool. Set the opacity to 100 and the size to something medium-small, like 55. Make sure to set your background color (that swatch on the right in the top-right corner) to BLACK. Now erase any areas that you didn't want to disappear in the first place. You should end up with something like this:
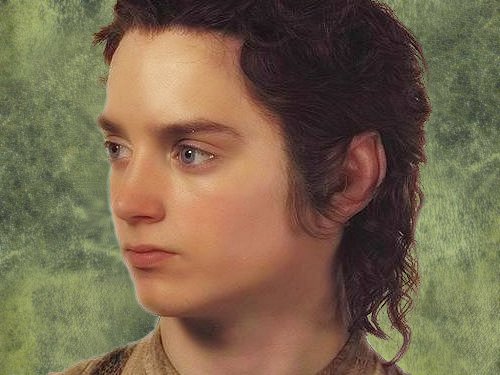
Now hit undo a few times until you get back before you made the image into a negative. This is a little harder, since when you set the blend mode to Darken, almost all of Frodo's face disappears. For now, set the blend mode back to normal, but set the opacity to 50%. Select the background (your texture), click on the eraser, and make sure the background swatch's color is now set to WHITE. Set the eraser's size to about 15, and carefully erase the edges of the background around Frodo's face (example). Now select the Frodo layer, set the opacity back to 100, and the blend mode to Darken. Select the background again, and finish erasing, now that you can see the exact outline of Frodo's face. Your graphic might look something like this:
It's still unpleasantly fuzzy on the left side. Make sure your background is still selected and zoom in a bit. Go to your Clone tool and set it to 100% opacity and a size of 15. Right-click on an area of the background near the edge of Frodo's face. Then left-click on the fuzzy white that you want to fill in - don't click TOO close to the skin, though, or you'll make more disappear than you'd like. With this image, it's difficult to get a perfect edge. If this happens, the best thing to do is to lighten (or, if you were using the Lighten setting and trying to get a dark background to disappear, darken) the background a bit, and it will blend better, giving you an end result like this:
Enjoy your new tool! |